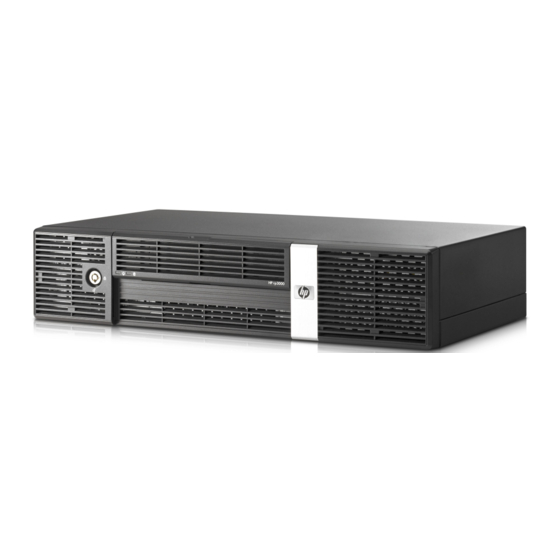
HP Rp3000 - Point of Sale System Getting Started Manual
Quick setup and getting started guide
Hide thumbs
Also See for Rp3000 - Point of Sale System:
- Reference manual (134 pages) ,
- Troubleshooting manual (65 pages) ,
- Hardware reference manual (57 pages)
Table of Contents
Advertisement
Quick Links
Advertisement
Table of Contents

Summary of Contents for HP Rp3000 - Point of Sale System
- Page 2 10mm 50mm 10mm 10mm 10mm...
- Page 3 Quick Setup & Getting Started rp5700 and rp3000 Models...
- Page 4 © Copyright 2008 Hewlett-Packard Development Company, L.P. The information contained herein is subject to change without notice. Microsoft, Windows, and Windows Vista are either trademarks or registered trademarks of Microsoft Corporation in the United States and/or other countries. The only warranties for HP products and services are set forth in the express warranty statements accompanying such products and services.
- Page 5 Accessing User Guides and HP Diagnostics HP user guides and HP Insight Diagnostics are available on the hard drive (some models) or on the CD/DVD included with your computer. They are also available at http://www.hp.com/support. To access HP user guides on the hard drive: Select Start >...
- Page 6 Accessing User Guides and HP Diagnostics ENWW...
-
Page 7: Table Of Contents
Table of contents Quick Setup & Getting Started Installing and Customizing the Software ............1 Installing the Operating System ........... 1 Downloading Microsoft Windows Updates ........1 Installing or Upgrading Device Drivers ......... 2 Customizing the Monitor Display ..........2 Protecting the Software .................. - Page 8 ENWW...
-
Page 9: Quick Setup & Getting Started
Quick Setup & Getting Started Installing and Customizing the Software If the computer was shipped with Windows Vista loaded, you will NOTE: be prompted to register the computer with HP Total Care before installing the operating system. You will see a brief movie followed by an online registration form. -
Page 10: Installing Or Upgrading Device Drivers
In Windows Vista, the Windows Update screen appears. Click view available updates and make sure all critical updates are selected. Click the Install button and follow the instructions on the screen. In Windows XP, you will be directed to the Microsoft Windows Update Web site. -
Page 11: Protecting The Software
Protecting the Software To protect the software from loss or damage, keep a backup copy of all system software, applications, and related files stored on the hard drive. Refer to the operating system or backup utility documentation for instructions on making backup copies of your data files. HP Backup and Recovery Manager The features described below are only available on systems NOTE:... -
Page 12: Hp Insight Diagnostics
HP Backup and Recovery > HP Backup and Recovery Manager Manual. You can order a Recovery Disc Set from HP by calling the HP NOTE: support center. Go to the following Web site, select your region, and click the Technical support after you buy link under the Call HP heading to obtain the support center telephone number for your region. -
Page 13: Downloading The Latest Version Of Hp Insight Diagnostics
HP Insight Diagnostics is included as part of the Recovery Disk NOTE: Set with some computer models only. If you have already created a Recovery Disc Set, begin the following procedure at step 4. Click Start > HP Backup and Recovery > HP Backup and Recovery Manager to open the Backup and Recovery Wizard, then click Next. -
Page 14: Turning Off The Computer
Enter your product number (for example, rp3000) in the text box and press the Enter key. Select your specific computer model. Select your OS. Click the Diagnostic link. Click HP Insight Diagnostics Offline Edition. Click the Download button. The download includes instructions on how to create the NOTE: bootable CD. -
Page 15: Accessing The User Guides
Not all of the publications listed are included on all models. NOTE: ● Quick Setup & Getting Started (also available in print)—Helps you connect the computer and peripheral devices and set up factory- provided software; also includes basic troubleshooting information should you encounter any problems during initial startup. -
Page 16: Before You Call For Technical Support
To access the HP Backup and Recovery Manager User Guide: Select Start > HP Backup and Recovery > HP Backup and ▲ Recovery Manager Manual. The menu and books are displayed in the language chosen during initial system setup or as specified later in the Windows Regional Settings. If the Regional Settings do not match one of the supported languages, the menu and books are displayed in English. - Page 17 ● If you recently installed new software, uninstall the software and see if the computer functions properly. ● Boot the computer to the Safe Mode to see if it will boot without all of the drivers loaded. When booting the operating system, use “Last Known Configuration.”...
-
Page 18: Helpful Hints
● Remove any software that was recently installed. ● Restore the system from the Recovery Disc Set or restore the system to its original factory condition in HP Backup and Recovery Manager. Restoring the system will erase all data on the hard drive. Be CAUTION: sure to back up all data files before running the restore process. -
Page 19: Basic Troubleshooting
seconds, then plug it in again. The computer will restart if automatic start on power loss is set in Computer Setup. If it does not restart, press the power button to start the computer. ● Reconfigure your computer after installing a non–plug and play expansion board or other option.


