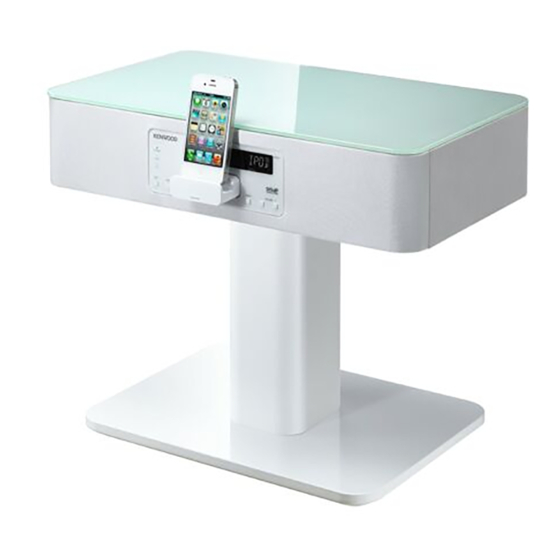
Summary of Contents for Kenwood C-BX3-B
- Page 1 COMPACT HI-FI COMPONENT SYSTEM C-BX3 INSTRUCTION MANUAL Glass inside GVT0349-001A [E] © 2012 JVC KENWOOD Corporation...
-
Page 2: Warnings, Cautions And Others
Warnings, Cautions and Others ¤ CAUTION ¤ CAUTION button in any position does not disconnect the mains line. To reduce the risk of electrical shocks, fire, etc.: Disconnect the mains plug to shut the power off completely (the Do not remove screws, covers or cabinet. STANDBY lamp goes off). -
Page 3: Table Of Contents
3-12, Moriyacho, Kanagawa-ku, Yokohama-shi, Kanagawa, 221-0022, Japan Getting started ......5 EU Representative's: Unpacking and assembling the Kenwood Electronics Europe BV system ................5 Amsterdamseweg 37, 1422 AC UITHOORN, Placing the system ........... 5 The Netherlands About measures to prevent falling down and toppling over ........ -
Page 4: Introduction
Introduction Notes on handling Auto power save function When no operation is done in certain situations for 29 minutes, the Important cautions unit turns off automatically. This function is on at the initial setting. Installation of the System For details, refer to “Operations.” •... -
Page 5: Part List And Supplied Accessories
Getting started • Since the System may deteriorate in quality, become damaged or get DO NOT connect the power cord until all other its paint peeled off, be careful about the following: connections have been made. – DO NOT wipe it forcefully. –... -
Page 6: About Measures To Prevent Falling Down And Toppling Over
Getting started (continued) About measures to prevent falling To prevent the TV from falling down or toppling over down and toppling over When you place a TV on the system, see the instructions supplied for • Be sure to take measures to prevent falling down and toppling over your TV and fix the TV to the wall. -
Page 7: Using The Core Filter
Using the core filter Setting the video output While the source is selected to IPOD and iPod is not connected to the To reduce interference, be sure to attach the provided core filters to the unit... power cord and the external component cord. Press and hold iPod 6 (main unit). -
Page 8: Connecting The Dc Power Cord
Operations Getting started (continued) Connecting the DC power cord Rear of the unit Wood pin Side columns Wood pin Stand base Basic operation To a wall outlet Turning on/off the power AC adaptor (supplied) Press 1 Insert the DC power cord into the hole on the center of the ⁄... -
Page 9: Adjusting The Sound Level
When one of the situations occurs... ⁄ The APS indicator is shown for 1 second every 1 minute and starts The change in the bass and treble sound level of the speakers differ flashing 30 seconds before the System turns off. depending on the incoming signal of the input source. -
Page 10: Buttons And Lamps On The Front
Operations (continued) Pausing/resuming playback Displaying a menu/Returning to the Press iPod 6. previous menu Press MENU. Skipping forward/back Press and hold ¢ or 4. Selecting an item on the menu Press UP or DOWN, then press SELECT. Skipping to the next track Press ¢. -
Page 11: Troubleshooting
Troubleshooting Specifications If you have a problem with this System, check this list for a possible Output Power : 30 W + 30 W RMS (1 kHz, 10% T.H.D., 4 Ω) solution before calling for service. Audio section Power Input Terminals : ANALOG IN : 1 V/50 kΩ Power does not come on. - Page 12 • is a trademark of SRS Labs, Inc. • StudioSound HD technology is incorporated under license from SRS Labs, Inc. • SSHD: StudioSound HD by SRS Labs, Inc. SRS StudioSound HD™ provides an immersive and engaging surround sound experience, while maintaining steady volume and delivering rich bass and clear dialog.


