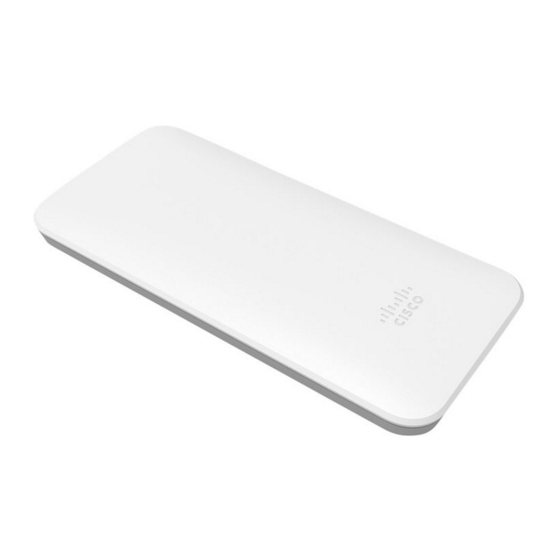
Summary of Contents for Cisco Meraki GR60
- Page 1 The Cisco Meraki GR60 is a dual-band enterprise class 802.11ac cloud-managed access point Package Contents The GR60 package contains the following: GR60 Cloud-Managed Access Point Mount cradle including built-in level tool...
- Page 2 Mount Kit Wall screws and wall screw anchors Understanding the GR60 Your Meraki GR60 has the following features:...
-
Page 4: Ethernet Ports
The mount cradle has the following features: Ethernet Ports The GR60 features a Gigabit Ethernet RJ45 port that accepts 802.3at and 802.3af power (labeled “Eth0, PoE”). This port should be used for uplink to your WAN connection. Power Source Options The GR60 access point can be powered using either the Meraki AC Adapter, PoE Injector (both sold separately), or a third-party PoE switch. - Page 5 Orange - AP is booting (permanent Orange suggests hardware issue) Rainbow - AP is initializing/scanning Blinking Blue - AP is upgrading Green - AP in Gateway mode with no clients Blue - AP in Gateway mode with clients ...
- Page 6 few minutes for the firmware upgrade to complete, depending on the speed of your internet connection. Check and Configure Firewall Settings If a firewall is in place, it must allow outgoing connections on particular ports to particular IP addresses. The most current list of outbound ports and IP addresses for your particular organization can be found here.
-
Page 7: Collect Additional Hardware For Installation
Static IP via DHCP Reservations Instead of associating to each Meraki AP individually to configure static IP addresses, an administrator can assign static IP addresses on the upstream DHCP server. Through “DHCP reservations,” IP addresses are “reserved” for the MAC addresses of the Meraki APs. Please consult the documentation for the DHCP server to configure DHCP reservations. - Page 8 2. Power over Ethernet supports a maximum cable length of 300 ft (100 m). 3. If being used in a mesh deployment, the GR60 should have line of sight to at least two other Meraki devices. A Cisco Partner can help ensure that your AP placement is ideal.
- Page 9 The GR60 attaches to the mount cradle with two tabs on the cradle that insert into the GR60, and is secured to the cradle using one screw. To attach the GR60 to the mount cradle properly, line up the top edge of the AP with the top tab of the mount cradle.
- Page 10 To release the GR60 from the mount cradle, first remove the security screw that secures the GR60 to the cradle’s bottom tab. While holding the GR60 with one hand, press the cradle’s bottom tab upwards, releasing the GR60 from the bottom of the cradle. Then remove the GR60 from the cradle’s top tab.
-
Page 11: Troubleshooting
a. The Power LED should be solid green (or blue, if clients are connected). If it is flashing blue, the firmware is automatically upgrading and the LED should turn green when the upgrade is completed (normally within a few minutes). See "LED Indicators"... - Page 12 be determined by turning the equipment off and on, the user is encouraged to correct the interference by one of the following measures: • Reorient or relocate the receiving antenna. • Increase the separation between the equipment and receiver. • Connect the equipment into an outlet on a circuit different from which the receiver is connected.
- Page 13 dispositif ne doit pas produire de brouillage préjudiciable, et (2) ce dispositif doit accepter tout brouillage reçu, y compris un brouillage susceptible de provoquer un fonctionnement indésirable. Industry Canada Caution (i) the device for operation in the band 5150-5250 MHz is only for indoor use to reduce the potential for harmful interference to co-channel mobile satellite systems;...
- Page 14 第十四條 低功率射頻電機之使用不得影響飛航安全及干擾合法通信;經發現有干擾現象 時,應立即停用,並改善至無干擾時方得繼續使用。 前項合法通信,指依電信法規定作業之無線電通信。 低功率射頻電機須忍受合法通信或工業、科學及醫療用電波輻射性電機設備之干擾。 電磁波曝露量MPE標準值1mW/cm ,本產品使用時建議應距離人體 20 cm。 1. 使用此產品時應避免影響附近雷達系統之操作。 2. 高增益指向性天線只得應用於固定式點對點系統。...


