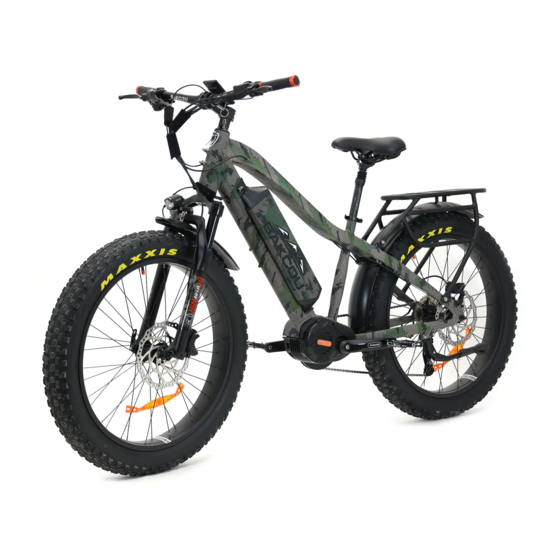
Bakcou Mule Assembly
Hide thumbs
Also See for Mule:
- Assembly (12 pages) ,
- Owner's manual (28 pages) ,
- Owner's manual (15 pages)
Advertisement
Quick Links
Required Tools:
● MAKE CERTAIN TO PAY ATTENTION TO ALL BOLD ITALICIZED TEXT
● We recommend using medium grade Loctite on any bolts that seem to loosen while
riding
● Cutting Pliers (to cut box poly strapping and heavy bike banding)
● Scissors (to remove bubble wrap)
● Allen wrenches (3mm, 4mm, 5mm, 6mm)
● Wrenches (10mm, 15mm)
● Approximate Assembly Time: 20 - 30 minutes
UNBOXING AND REMOVING BUBBLE WRAP/BANDING
1. Cut banding straps from exterior of box and open box.
2. Remove "Tool Kit" box containing pedals, headlight, battery charger, and hardware from
box.
3. Remove bike from box. (If necessary, lay box on side and slide out or use two people to
lift out)
Bakcou Mule/Flatlander Assembly
Advertisement

Summary of Contents for Bakcou Mule
- Page 1 Bakcou Mule/Flatlander Assembly Required Tools: ● MAKE CERTAIN TO PAY ATTENTION TO ALL BOLD ITALICIZED TEXT ● We recommend using medium grade Loctite on any bolts that seem to loosen while riding ● Cutting Pliers (to cut box poly strapping and heavy bike banding) ●...
-
Page 2: Handlebar Assembly
4. Cut banding straps to release the front tire from the frame of the bike. (Use caution in cutting banding straps, paying particular attention to brake, derailleur and all other cables on bike) 5. Cut banding straps to remove front and rear fenders from the front tire. (Rear fender may already be assembled on bike) 6. - Page 3 10. Display screen is easily rotated by hand forwards or backwards to customize to rider. PUTTING ON FRONT TIRE 11. If present, remove plastic spacer from bottom of front forks. 12. Loosen quick release hub on both sides of front hub axle (axle of front wheel). 13.
- Page 4 PUTTING ON PEDALS 15. Remove pedals from “Tool Kit” box. 16. Differentiate the right pedal from the left pedal by locating the small “CR-L” (for the left) and “CR-R” (for the right) inscribed on the bolt of the pedal. (See Picture) 17.
- Page 5 FRONT FENDER & HEADLIGHT ASSEMBLY 20. Attach front fender and headlight to front fork bracket using long bolt from hardware package, 5mm Allen wrench, and 10mm wrench (Note: Place light bracket and fender bracket on the backside of the fork bracket) After tilting headlight forward to expose backside, plug red (positive wire) into the left side of the head light and black (negative wire) into the right side of the head light.
-
Page 6: Read Before Use
22. Optional: Drill two small holes in rear fender just below center cross beam of pannier rack and fasten rear fender to pannier rack using zip tie to stabilize fender. (See photo below) (Note: This will slightly limit ability to raise or lower seat post for riders of different heights) READ BEFORE USE 23. - Page 7 28. Note: A Suspension Adjustment video and Display Use video can each be viewed under “Support” on the Bakcou website. Note: located at the bottom of some right front forks is a blue knob called a shock dampener. This knob is used to control the rebound speed of the fork.


